Survive Zombie Arena Infinite Waves Strategy Guide: How to Survive 100+ Waves
Surviving the early game in Survive Zombie Arena is relatively straightforward, but pushing into the endgame Infinite Waves is a completely different beast. Once you cross Wave 40, the game dynamic changes entirely. Health pools scale exponentially, elite variants spawn in massive groups, and server limits are pushed to the absolute edge as over 500+ zombies swarm the arena simultaneously.
To survive these late-game waves, you cannot rely on mindless shooting. You need precise team coordination, optimized map positioning, advanced kiting tactics, and strict target prioritization. This ultimate endgame strategy guide will help your squad master high-wave survival.
The Golden Rule of High Waves: Target Prioritization (Kill Order)
When 500+ entities are rushing your position, panic-firing into the crowd will cause an immediate team wipe. Your team must call out and melt high-priority targets in a specific order:
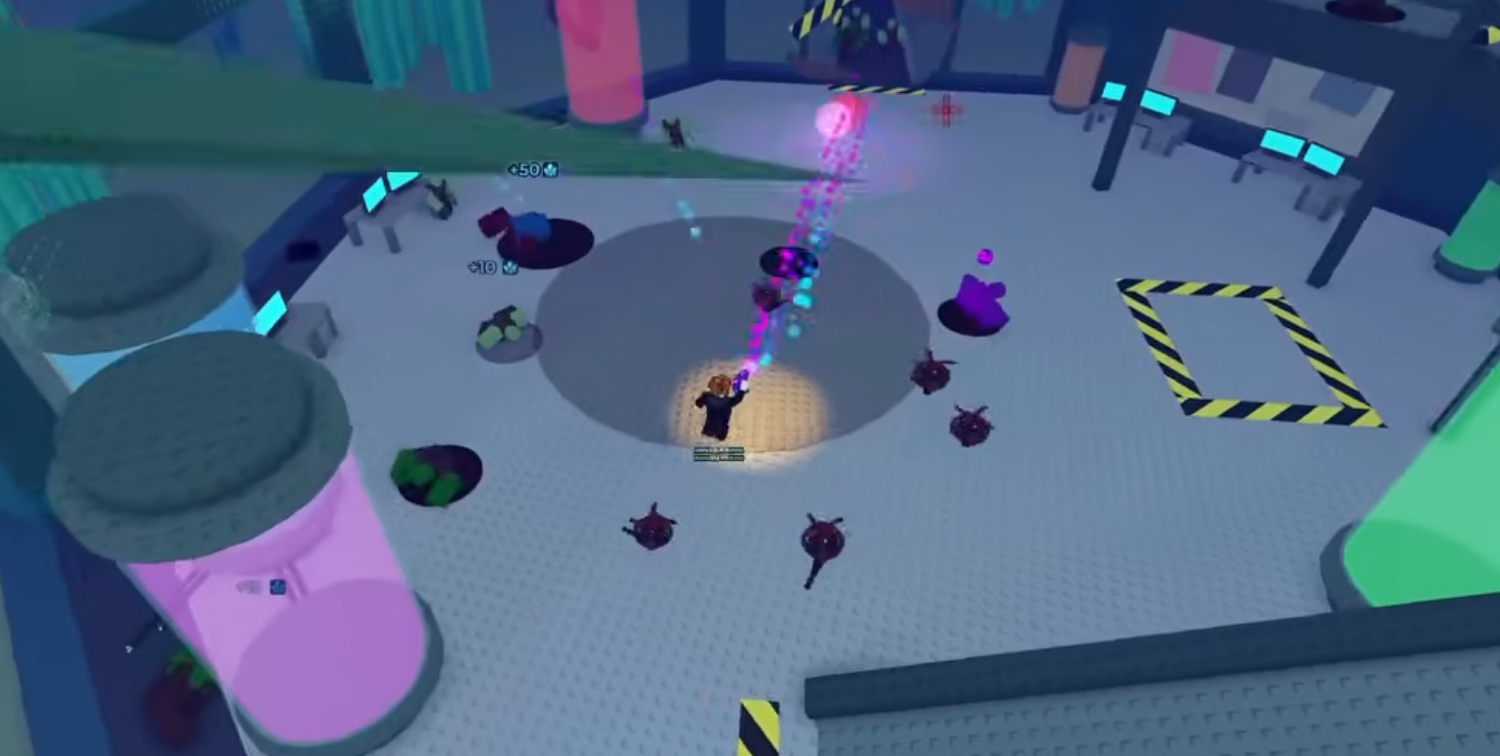
- Ranged & Projectile Elites (Priority 1): Elite variants that throw acid or fire projectable toxic sludge must die first. They can hit players behind fortifications and easily disrupt your healing stations.
- Speed Sprinters / Buffers (Priority 2): Any zombie variant that grants a speed or defense aura to the surrounding horde must be brought down immediately to prevent the frontline from being overwhelmed.
- Bosses & Heavy Tanks (Priority 3): Massive bosses have giant health pools. Do not waste all your ammunition on them while small runners are slipping past your defenses. Keep them controlled until the trash mobs are cleared.
- Standard Horde Mobs (Priority 4): Standard melee walkers should be used as ammunition/credit fuel or soul farming material for your Necromancer.
Advanced Defensive Positioning: The Funnel & Bunker Matrix
To survive infinite waves, your team must utilize specific map geometry to minimize the angles from which zombies can attack.
The Choke Point Setup
Never stand in the wide-open center of an arena. Move your squad to a dead-end hallway, a narrow alleyway, or a corner with structural walls covering your back and flanks. This forces the 500+ zombie horde to bottleneck into a narrow lane, maximizing the efficiency of your piercing ammunition and area-of-effect (AoE) abilities.
The Ultimate Late-Game Defensive Grid:
- The Frontline: A Tactician places Steel Barricades across the narrow entrance. Immediately in front of the walls, lay down layers of Spikes to slow down incoming rushes.
- The Firepower Pocket: Positioned directly behind the barricades, a Support or Tactician deploys Automated Sentry Turrets and Laser Drones to create a continuous wall of passive damage.
- The Core Hub: Place a Bastion’s Bunker and a Medic’s Healing Station overlapping right behind the frontline. This ensures that even if an elite projectile breaks through, the team receives instant passive healing and an invincibility window to repair the walls.
Solo High-Wave Survival: The Art of Kiting (Looping)
If you are playing solo or your entire squad goes down during a chaotic wave, setting up a stationary bunker is impossible. You must switch to a tactical Kiting Strategy.
How to Loop a 500+ Zombie Horde:
- Maintain Train Formation: Run in a massive, continuous outer circle around the perimeter of the map. This manipulates the zombie pathfinding AI into grouping up into one long, linear line behind you (often called a "zombie train").
- Never Stop Sprinting: Avoid cutting corners too sharply, as high-wave sprinters can instantly body-block you, leading to a rapid death.
- Calculated Counter-Attacks: Only turn around to shoot when you have a clear straightaway. Use high-piercing weapons (like a maxed-out rifle or Marksman loadout) to fire directly down the line of the train. This guarantees that every single bullet pierces through multiple targets, maximizing your DPS while keeping you safely ahead of the horde.
Hardware Optimization Tips for High Waves
With 500+ zombies rendering at once, performance lag is a primary cause of death for high-wave runs. If your game begins to stutter or drop frames:
- Go into your Roblox settings and shift the Graphics Mode to Manual, lowering it to level 3 or 4. This reduces particle effects without sacrificing your ability to see distant elite projectiles.
- Have your Support players space out their automated turrets slightly. Clumping too many visual effects and laser indicators into a single 5x5 grid can cause severe frame drops on lower-end PCs and mobile devices.